


To open an Etsy shop, create an account, set your shop language, country, and currency, pick an available shop name, add your first listings, set up Etsy Payments and billing, pay the one-time set-up fee, write your policies, and publish. The whole setup takes about an hour, and most of the work is gathering your listings and bank details before you start.
This is the focused walkthrough for getting a live shop online, not the full sales strategy. If you want the wider view of running and growing a store, start with our guide on how to sell on Etsy. Here, you will move through each setup screen in order so your shop opens clean and ready to take orders.
Step 1: Create your Etsy account
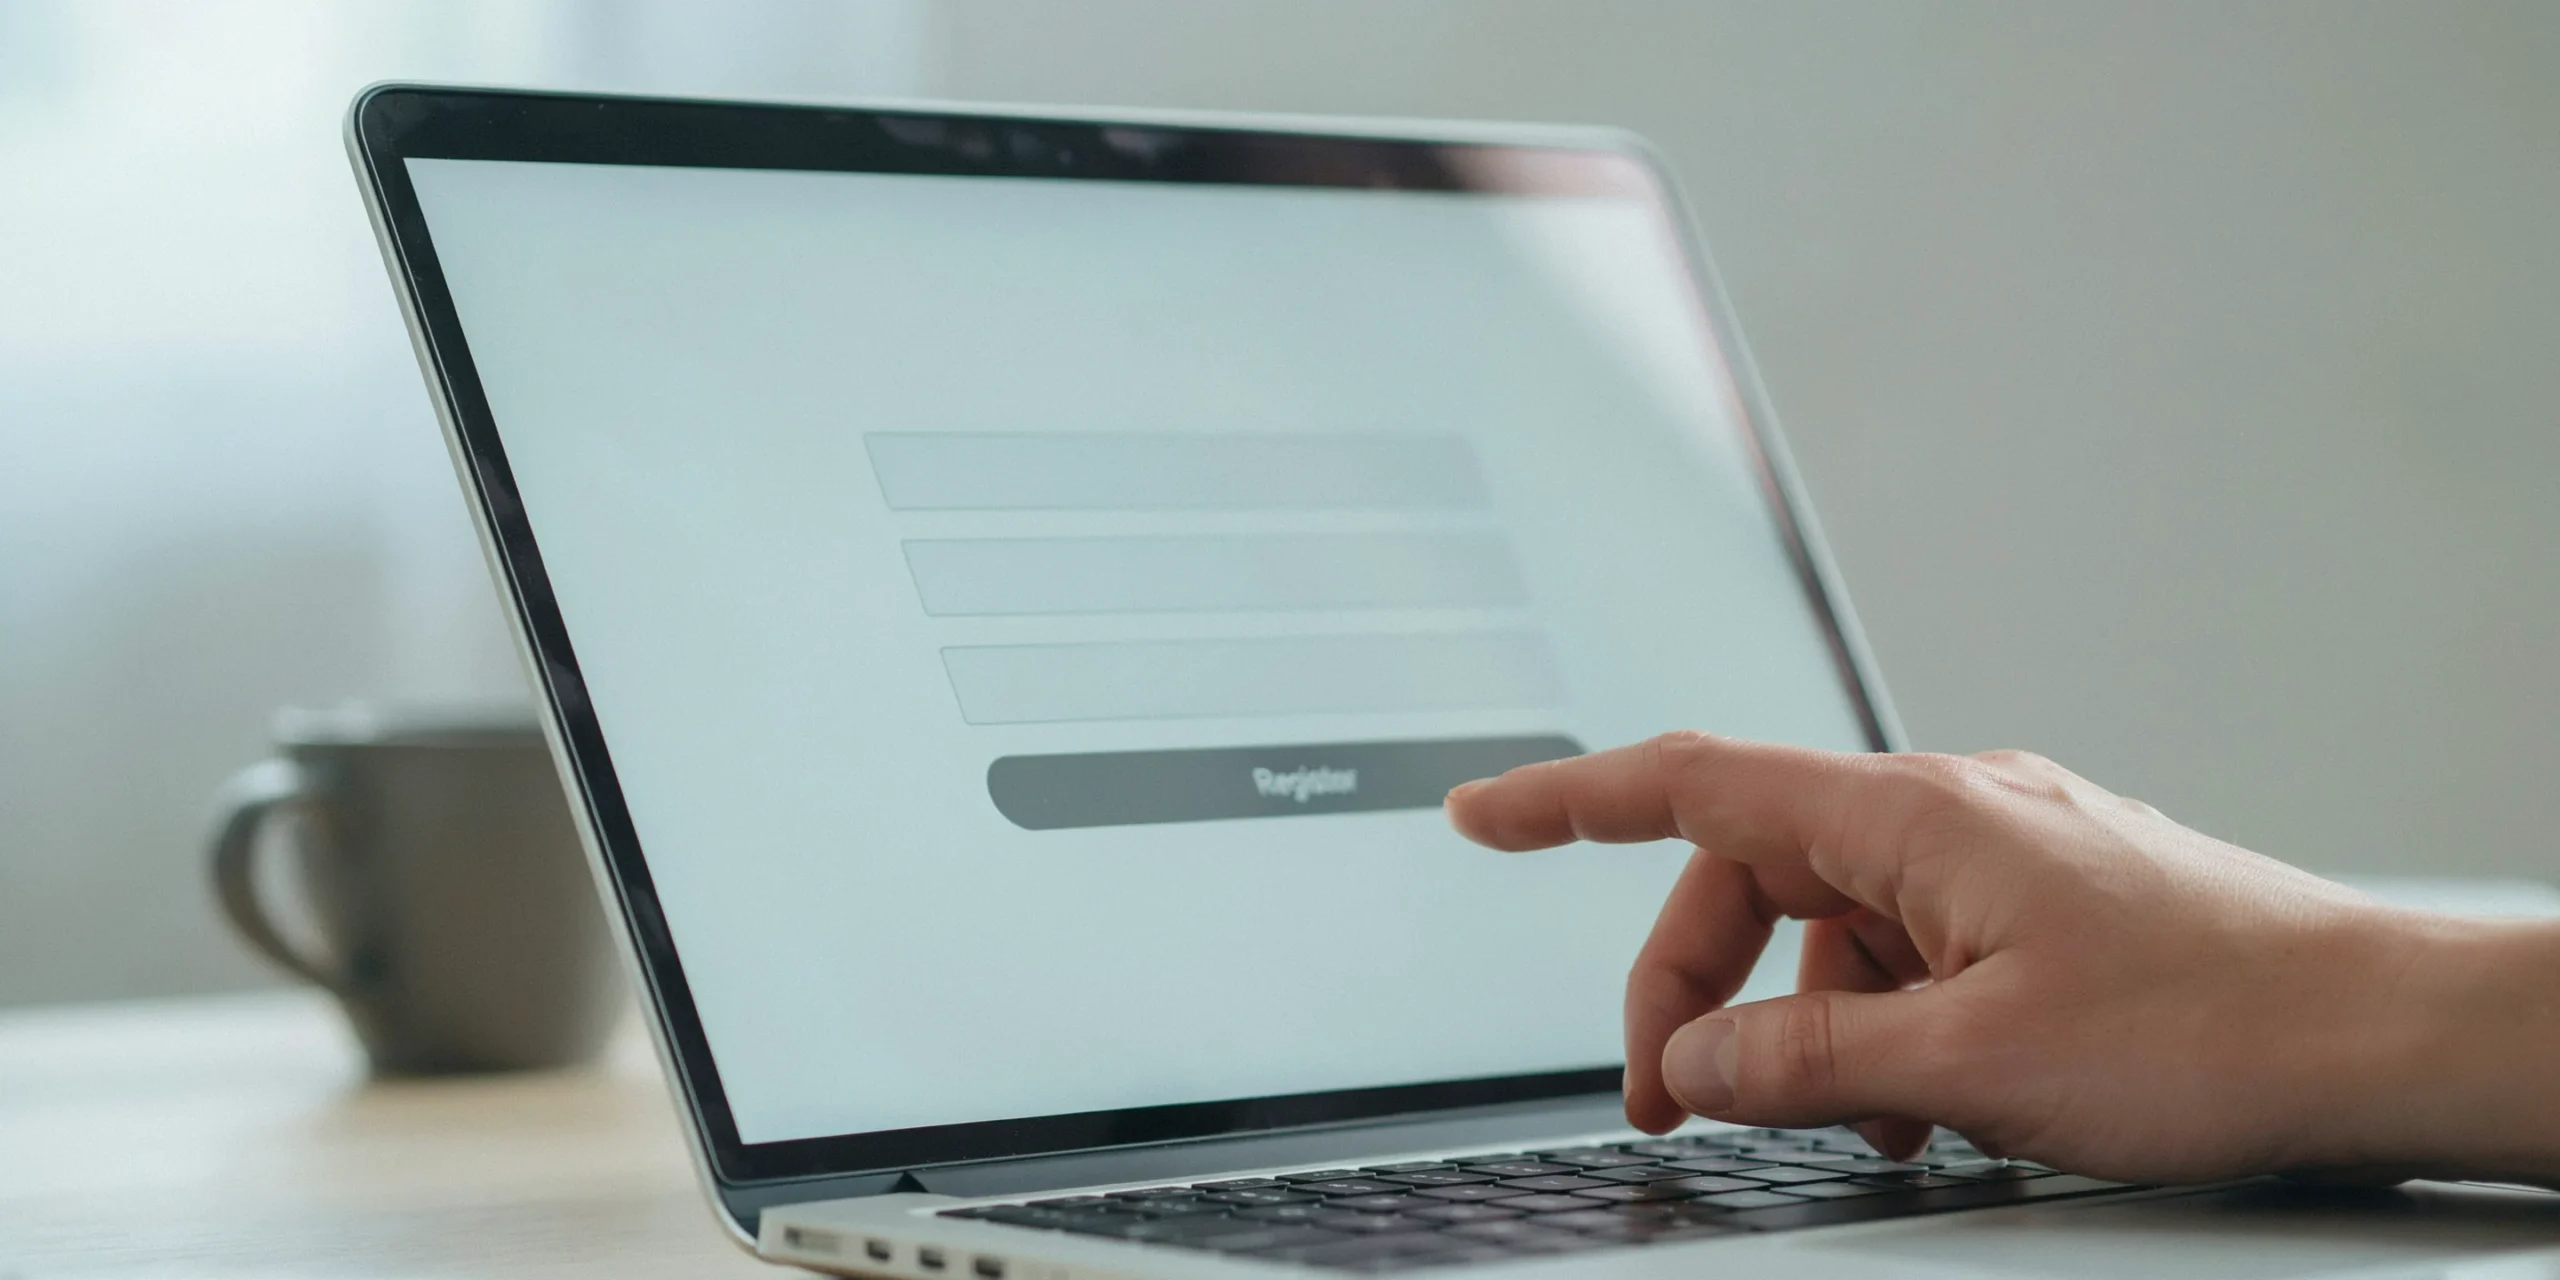
Your shop lives on top of a regular Etsy account, so set that up first. Go to Etsy.com, select Sign in, then Register, and enter your email, a first name, and a password. You can also register with a Google, Facebook, or Apple login. If you already shop on Etsy, you can open a shop on that same account without making a new one.
Use an email you check often, because order notifications, billing alerts, and verification messages all land there. Once you are signed in, look for Sell on Etsy and select Open your Etsy shop to start the setup flow (Etsy Help: How to Open an Etsy Shop).
Step 2: Set your shop preferences

The first setup screen asks for three preferences: shop language, country, and currency. These shape how your shop runs, so choose carefully before you select Save and continue.
Your shop language is the default language you use to write titles and descriptions, and Etsy will not let you change it later, so pick the one you are most comfortable selling in. Your country is your business location, and your currency is what you price listings in. If your bank account uses a different currency than your shop, Etsy applies a currency conversion fee on your payouts, so match them when you can (Etsy Help: Preferred Currency).
⚠️ Common Mistake to Avoid
Many new sellers rush past the currency choice and later find their payouts shrinking to a conversion fee on every sale. Set your shop currency to match the currency of the bank account you will get paid into. Fixing a mismatch after launch is far more annoying than getting it right on this screen.
Step 3: Choose your shop name

Next you name your shop. Etsy shop names must be 4 to 20 characters, contain no spaces or special characters, and be unique across the whole platform. If the name you want is taken, Etsy shows you available alternatives right away.
Pick something memorable that hints at what you sell or the feeling of your brand, since this name becomes your shop URL and the label buyers remember. Avoid boxing yourself in with a name tied to one product if you plan to expand later. You can change the name as often as you like before you open, and up to five times from your shop settings after opening, with further changes needing Etsy Support approval. There is room to adjust, but the name becomes your shop URL, so it is still worth getting close to final now.
💡 Seller Tip
Before you commit to a name, search it on Etsy, Google, and Instagram. A common move among established sellers is to pick a name that is free as a handle across platforms too, so their shop, social pages, and any future website all match. Consistent naming makes your brand easier to find and harder to confuse with someone else.
Step 4: Add your first listings
Etsy wants at least one listing before you open, and a fuller shop converts better, so aim to publish several. For each item you add a title, photos, a description, a price, quantity, shipping details, and category tags. Etsy lets you save listings as drafts, so you can build a few and refine them before launch.
Lead with strong photos and keyword-rich titles, because both drive whether shoppers find and click your items. If you are still deciding your product line, our breakdown of what to sell on Etsy can point you toward categories with real demand, and the Etsy SEO guide shows how to write titles and tags that rank. You do not need a huge catalog to launch, but a shop with 8 to 12 listings looks more credible than one with a single item.
📈 Trend Signal
What sells on Etsy shifts month to month, especially in gifting and seasonal niches. Sellers who open with listings that match current buyer demand tend to land their first sale faster, because they are listing into an active search rather than a quiet one. Checking live demand before you finalize your launch lineup beats guessing from an old trend list.
Step 5: Set up Etsy Payments and billing
This is the step that makes you a real, paid shop. Etsy walks you through two money screens: how you will get paid, and how you will pay Etsy.
How you’ll get paid
Most sellers in eligible countries use Etsy Payments, which lets buyers pay with credit and debit cards, Apple Pay, Google Pay, PayPal, Etsy gift cards, and more, all in one place. On the “How you’ll get paid” page you add your bank account details so Etsy can deposit your earnings. When you make a sale, the funds land in your Etsy payment account first, then move to your bank on your chosen deposit schedule, which can be daily, weekly, biweekly, or monthly (Etsy Help: What is Etsy Payments).
How you’ll pay and the one-time set-up fee
Next, you add a credit or debit card to cover your Etsy fees, and you pay the one-time shop set-up fee. New shops pay a non-refundable set-up fee of $15 USD (or the local equivalent) before they can open for business, a charge Etsy added to verify new sellers and cut down on fraudulent shops (Etsy Seller Handbook). You may also be asked to verify your identity or bank account through Etsy’s verification partner before deposits begin (Etsy Help: Bank Verification).
Step 6: Write your shop policies
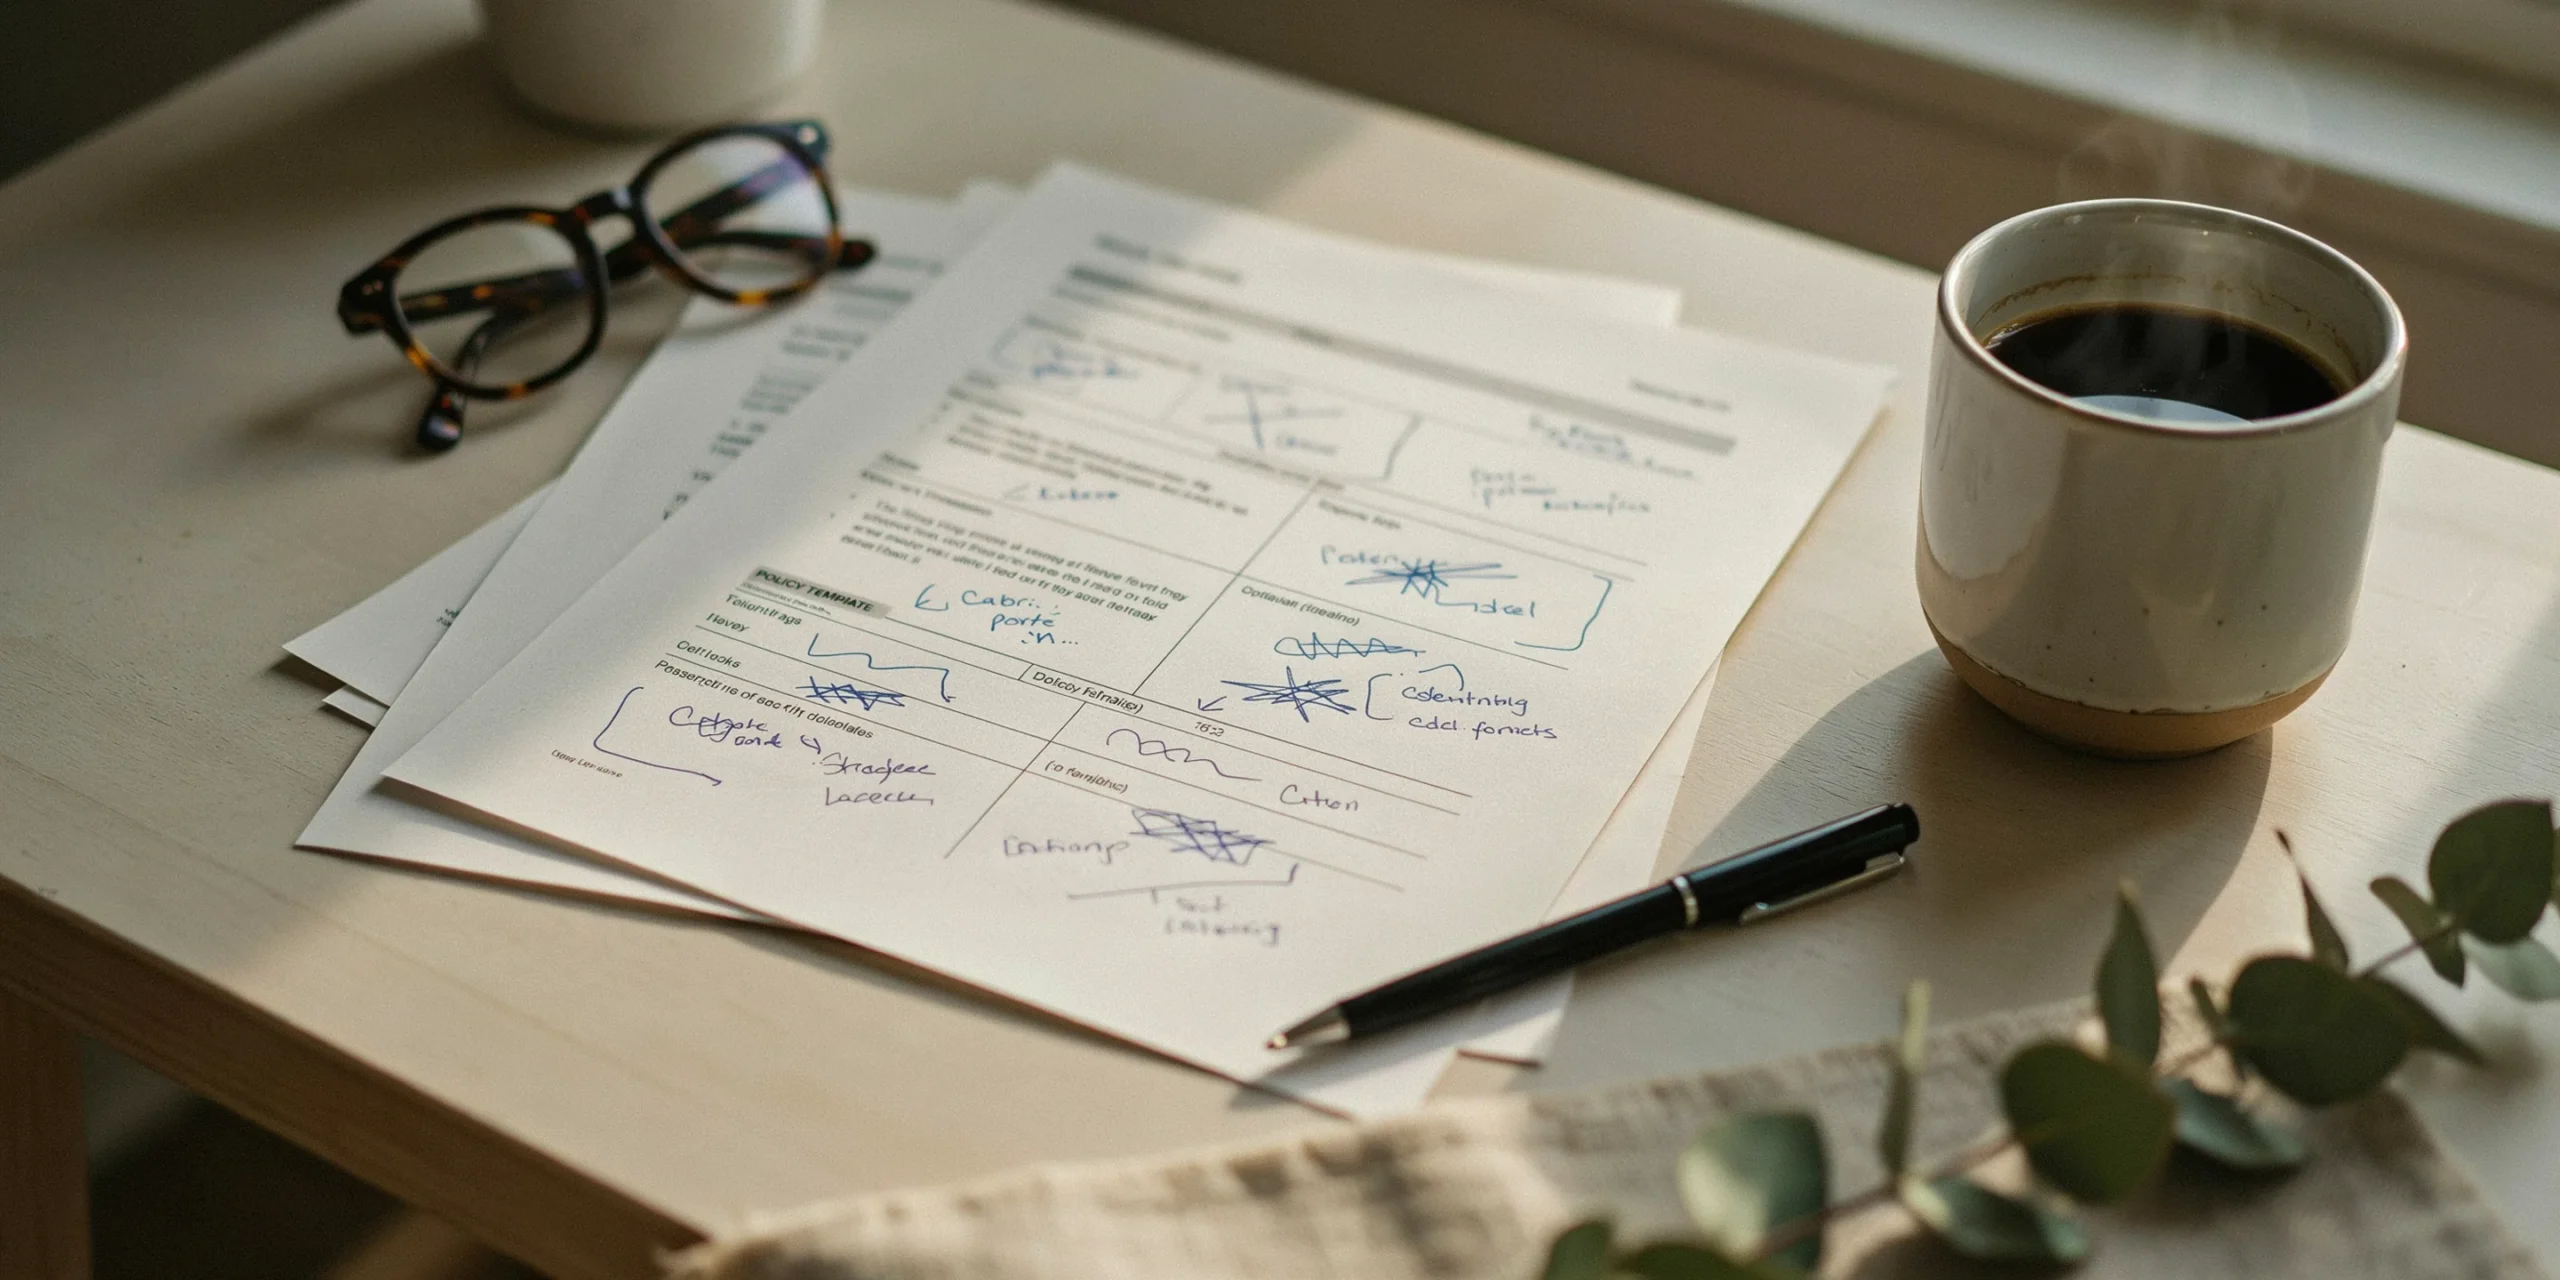
Policies set buyer expectations and protect you in disputes, so do not leave them blank. Etsy gives you policy templates covering shipping times, returns and exchanges, exchanges and cancellations, and how you handle custom orders.
Be clear and realistic. If you make items to order, state your processing time honestly so buyers are not surprised. A complete, fair policies section also signals professionalism, which matters a lot for a brand-new shop with no reviews yet. You can edit these any time from Shop Manager after you open.
Step 7: Know the fees before you launch
Beyond the one-time set-up fee, Etsy charges per listing and per sale, and knowing these upfront keeps your pricing realistic. The three core ongoing fees are simple to remember.
🔢 Etsy’s Core Fees at Setup
- One-time shop set-up fee: $15 USD, non-refundable (Etsy Seller Handbook)
- Listing fee: $0.20 USD per listing, active for four months or until it sells (Etsy Fees Policy)
- Transaction fee: 6.5% of the total order, including shipping (Etsy Fees Policy)
- Payment processing fee: varies by country; in the US it is 3% + $0.25 per order (Etsy Fees Policy)
For a deeper breakdown with worked examples, see our full guide to Etsy fees. Build these numbers into your prices from day one so your margins survive your first sales.
📌 Did You Know?
The $15 set-up fee is charged once and is non-refundable even if you close the shop without ever publishing a listing or making a sale. Etsy introduced it to slow down bot shops and fraudulent sellers signing up at scale. So treat opening day as a real commitment, not a casual test run you might abandon halfway.
Step 8: Run a quick launch checklist and publish
Before you hit publish, do a final pass so your first visitors see a finished shop, not a half-built one. Open day traffic is precious, and small gaps can cost you that first sale.
Run through this checklist:
- Shop language, country, and currency are correct and match your bank.
- At least 5 to 10 listings published, each with clear photos and keyword-rich titles.
- Etsy Payments connected and your bank details verified.
- Billing card added and the set-up fee paid.
- Shipping, returns, and other policies filled in.
- A short shop About section, profile photo, and shop icon added.
When that list is green, publish your shop. It goes live immediately and can start taking orders right away. Your real job now begins: getting found, and getting that all-important first order. Our guide to landing your first sale on Etsy covers the moves that bring early traffic.
See what’s selling on Etsy right now
A new shop opens stronger when its first listings match real buyer demand, not last year’s trends. Podkon tracks live Etsy best-sellers and trends across every category, so you can spot demand before you list and launch into an active market.
✅ Key Takeaways
- Opening a shop runs in order: account, shop preferences, name, listings, payments and billing, policies, then publish.
- Shop language and currency cannot be casually changed later, so set them to match your business and bank from the start.
- A one-time $15 set-up fee is required and non-refundable before your shop can open.
- Plan for ongoing fees: $0.20 per listing, a 6.5% transaction fee, plus payment processing.
- Launch with 5 to 10 polished listings and complete policies, not a single test item.
- Match your opening lineup to current demand to shorten the wait for your first sale.